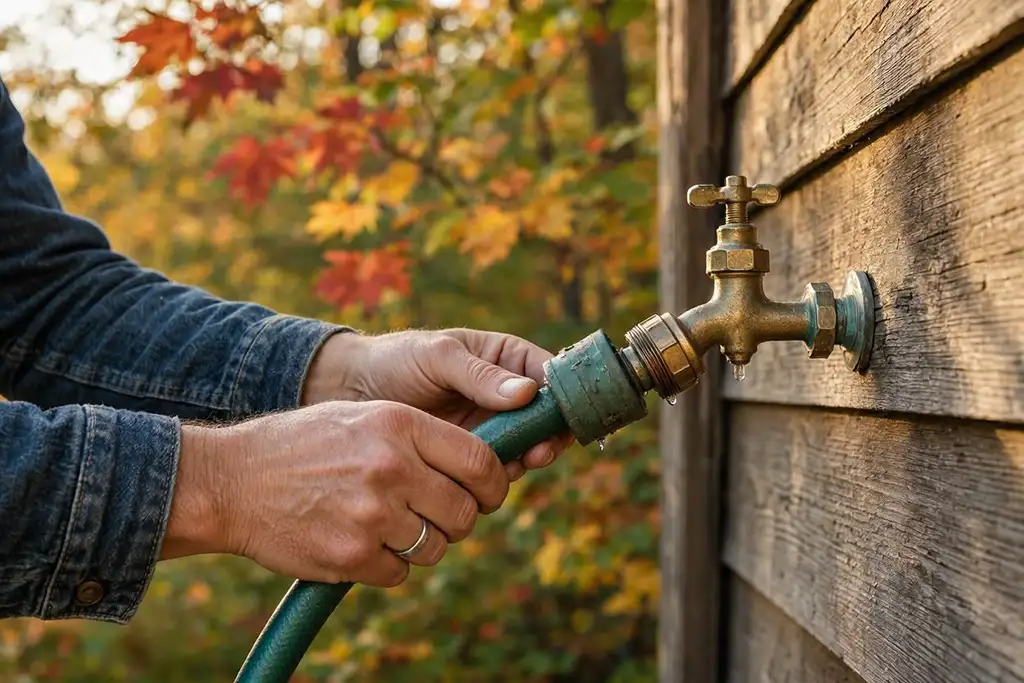
When summer comes to an end, there are plenty of signs that it’s time to start preparing your home for colder weather. One task that’s easy to overlook is winterizing your outdoor faucets.
That faucet you used all summer to water the lawn, wash the car, fill the pool, or connect a garden hose can become a problem when temperatures drop below freezing.
Water left inside outdoor plumbing can freeze and expand, potentially damaging the faucet, connecting pipes, or other components of your home’s plumbing system. Taking a few simple precautions before freezing weather arrives can help reduce the risk.
The good news is that winterizing a typical outdoor faucet is often a relatively simple homeowner maintenance task. However, not every outdoor faucet is designed the same way, so it’s important to understand what type you have before deciding exactly what needs to be done.
Here’s how to get your outdoor faucets and exterior plumbing ready for winter.
Quick Outdoor Faucet Winterization Checklist
Before freezing weather arrives:
☐ Disconnect all garden hoses
☐ Remove hose splitters, timers, and other attachments
☐ Drain and store garden hoses
☐ Inspect the faucet for leaks or damage
☐ Locate the interior shutoff valve if your faucet has one
☐ Shut off the water supply to standard exterior faucets
☐ Open the exterior faucet to drain remaining water
☐ Close the exterior faucet after draining
☐ Check exposed pipes for adequate protection
☐ Determine whether you have a frost-free faucet
☐ Check irrigation connections separately
☐ Address plumbing problems before the first hard freeze
Now let’s go through these steps in more detail.
1. Disconnect Your Garden Hoses
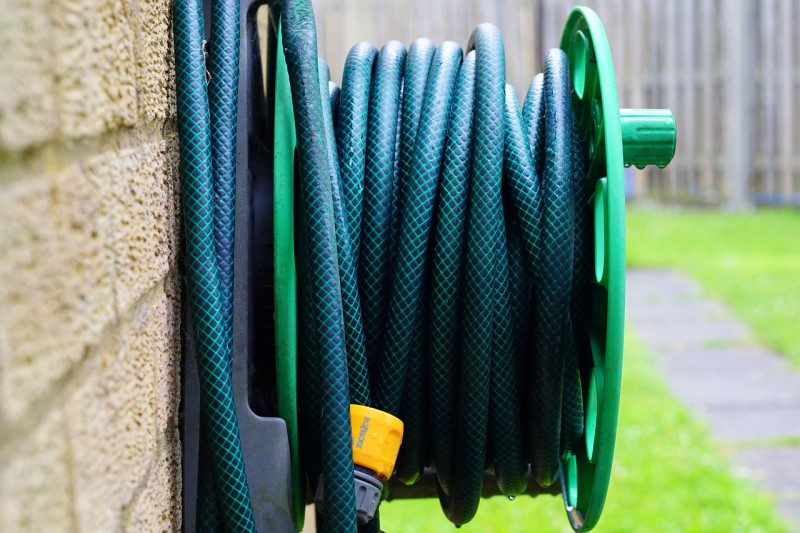
The first step is simple: remove every garden hose from your outdoor faucets before freezing weather arrives.
Don’t leave the hose connected just because you aren’t planning to use it anymore.
A connected hose can prevent water from draining properly from certain types of outdoor faucets and can contribute to freezing problems.
Disconnect:
- Garden hoses
- Hose reels
- Spray nozzles
- Splitters
- Timers
- Other attachments
After disconnecting the hose, drain any remaining water and store it somewhere protected from freezing temperatures if practical.
This is one of the easiest winter-preparation tasks you can complete, so there’s little reason to wait until the first freeze.
2. Inspect the Outdoor Faucet for Problems
While you’re disconnecting the hose, take a minute to inspect the faucet.
Look for:
- Dripping water
- Leaks around the handle
- Cracks
- Corrosion
- Damaged connections
- Loose fittings
- Water leaking from the wall connection
A small leak may not seem important during the summer, but it can indicate a problem that should be repaired before winter.
If water continues dripping after the faucet has been turned off, don’t simply assume it’s normal.
A leaking faucet may need a new washer, packing, valve component, or other repair depending on its design.
If you’re unsure what you’re looking at, a plumber can diagnose the problem before freezing weather arrives.


3. Find the Interior Shutoff Valve
Many homes have an interior shutoff valve that controls the water supply to an exterior faucet.
If yours does, locate it before you need it.
The valve may be found:
- In a basement
- In a crawl space
- Near the water heater
- Near where the plumbing exits the house
- In a utility room
- Along an interior wall near the exterior faucet
Some homes have an individual shutoff for each outdoor faucet, while others may have a different plumbing arrangement.
If you have an individual shutoff valve, closing it can help isolate the exterior section of the plumbing system.
If you aren’t sure which valve controls your outdoor faucet, don’t start randomly turning valves. If necessary, ask a plumber to identify the correct shutoff.
4. Shut Off the Water Supply
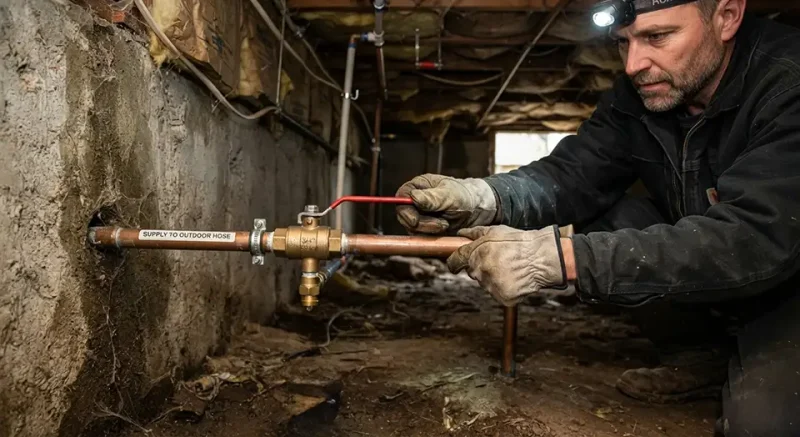
If your outdoor faucet has a dedicated interior shutoff valve, close it before freezing weather.
This prevents additional water from entering the exterior section of the plumbing.
However, simply turning off the indoor valve isn’t necessarily the entire winterization process.
There may still be water remaining in the pipe between the shutoff valve and the outdoor faucet.
That’s why the next step is important.
5. Open the Outdoor Faucet and Let It Drain
After shutting off the interior supply, open the exterior faucet.
Allow remaining water to drain out.
Once the water stops flowing, leave the faucet open temporarily as appropriate for your plumbing configuration so remaining water can drain rather than becoming trapped in the line.
Some systems also have a small drain or bleeder feature at the interior shutoff valve. If your system has one, follow the manufacturer’s or plumbing system’s instructions for using it.
The goal is to remove as much water as reasonably possible from the isolated exterior section.
6. Close the Faucet When You’re Finished
After the line has drained, close the outdoor faucet.
Don’t leave the handle open indefinitely simply because winter is coming.
The exact procedure can vary depending on the type of faucet and plumbing system, so if you’re unsure whether your faucet should remain open or closed after draining, consult the manufacturer’s instructions or a qualified plumber.
7. Know Whether You Have a Frost-Free Faucet
This is where winterizing outdoor faucets can become confusing.
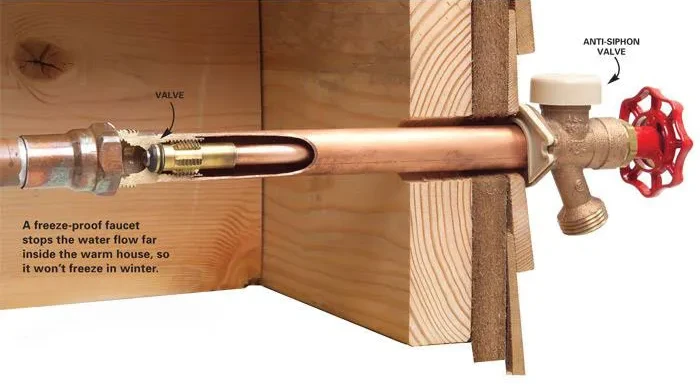
A frost-free or freeze-resistant faucet is designed differently from a basic hose bib.
The valve mechanism is positioned farther inside the heated portion of the home, which can reduce the likelihood of water remaining in the exposed portion of the faucet.
But that does not mean you can ignore it all winter.
One of the most important things you can do is remove the garden hose and other attachments.
A hose or attachment left connected can interfere with drainage and may defeat the intended protection of a frost-free faucet.
If you don’t know whether your faucet is frost-free, look for identifying information on the faucet or check the manufacturer’s documentation.
If you’re still unsure, a plumber can tell you what type of faucet you have and how it should be winterized.
8. Protect Exposed Plumbing
The outdoor faucet isn’t necessarily the only vulnerable part of your plumbing.
Look for exposed water pipes in areas such as:
- Unheated garages
- Crawl spaces
- Basements
- Exterior walls
- Utility areas
- Other locations exposed to cold air
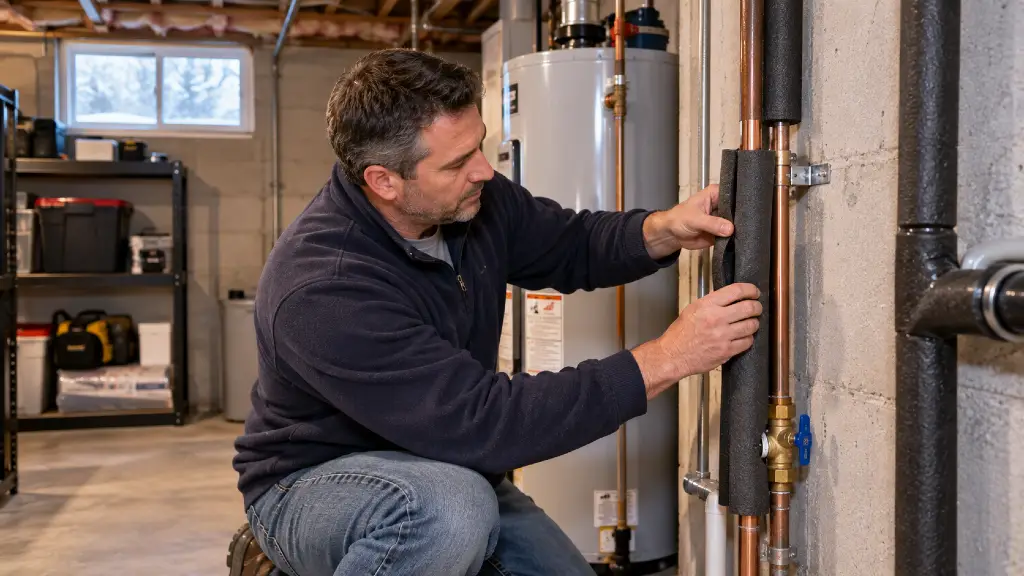
Pipes located in vulnerable areas may need appropriate insulation or other protection.
The U.S. Department of Energy notes that plumbing located in exterior walls needs appropriate insulation and air sealing to reduce exposure to cold conditions.
Don’t simply wrap every pipe you see without considering the surrounding conditions. If you aren’t sure whether a particular pipe needs protection or how it should be insulated, ask a plumbing or home-performance professional.
9. Don’t Forget Outdoor Faucets on Garages and Other Structures
It’s easy to remember the faucet on the back of your house and forget the one on the garage or detached building.
Walk around your property and identify every exterior water connection.
Check:
- Front outdoor faucets
- Backyard faucets
- Garage faucets
- Side-yard faucets
- Detached garage faucets
- Shed or workshop plumbing
- Outdoor utility sinks
- Other exterior water connections
A faucet doesn’t become less vulnerable simply because you don’t use it very often.
If water is supplied to an unheated structure, the plumbing may require additional winterization.
10. Winterize Your Irrigation System Separately
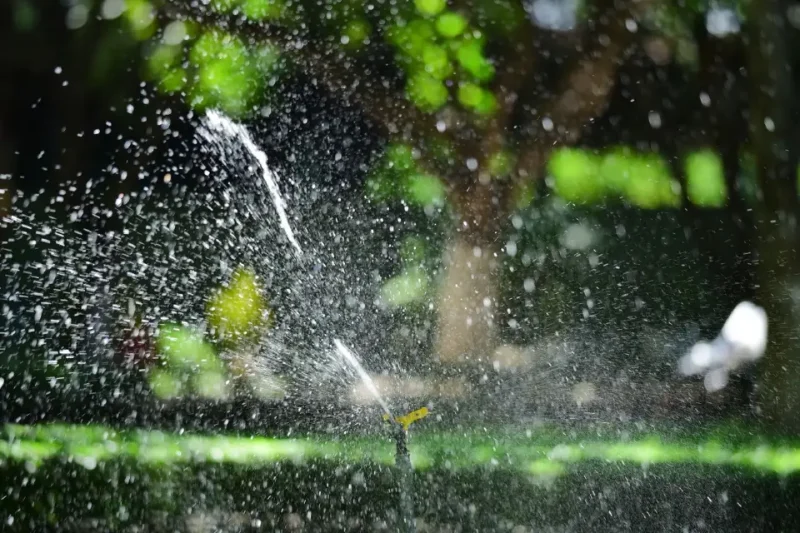
If your home has an underground sprinkler or irrigation system, don’t assume that winterizing the outdoor faucet takes care of it.
Irrigation systems can contain water in pipes, valves, sprinkler heads, and other components.
Depending on the system and local climate, irrigation systems may require draining or professional winterization before the ground freezes. University of Minnesota Extension, for example, recommends clearing water from irrigation lines before freezing conditions and notes that homeowners unfamiliar with the process may be better served by hiring an irrigation professional.
If you have an automatic irrigation system, follow the manufacturer’s instructions or have the system professionally winterized.
The Blow-Out Method (Step-by-Step)
- Shut Off the Main Source: Close the dedicated irrigation shut-off valve, which is usually located in your basement or a heated utility room.
- Drain the Interior Line: Open the small drain cap (bleeder valve) on the indoor pipe to empty residual water into a bucket.
- Connect the Compressor: Hook up a commercial air compressor to the blowout port on your outdoor backflow preventer.
- Purge the Zones: Set the compressor to 50–80 PSI (higher pressures will melt or crack plastic components) and activate each watering zone one by one from your controller until only mist escapes the heads.
Alternative Irrigation Systems Drainage Systems:
- Auto-Drain Systems: Some setups utilize automatic drain valves at the lowest points of the piping that open whenever pressure drops below 10 PSI.
- Manual Draining: If your system lacks a blowout port, you must manually open all manual end-of-line drain valves and let gravity clear the main lines.


11. Store Your Garden Hose Properly
Winterizing the faucet is only part of the job.
Garden hoses also deserve attention.
Before storing a hose:
- Disconnect it from the faucet.
- Drain all remaining water.
- Straighten out kinks.
- Coil it loosely.
- Store it somewhere protected from freezing temperatures when practical.
Water left inside a hose can freeze and expand, potentially shortening its useful life or damaging fittings.
If you use a hose reel, follow the manufacturer’s recommendations for draining and storage.
12. Check for Water Leaks After Winterization
Once you’ve completed the winterization process, take another look at the faucet and surrounding area.
Check for:
- Dripping water
- Dampness
- Leaking connections
- Water stains
- Cracked fittings
- Unusual moisture
If you shut off the interior supply and the exterior faucet continues to produce a significant amount of water, you may have another water source or plumbing issue that needs investigation.
Don’t wait until freezing weather to figure it out.
What If Freezing Weather Is Coming Tonight?
Sometimes the weather forecast changes quickly and you realize you haven’t winterized your outdoor plumbing.
Don’t panic.
Start with the most important steps:
First, disconnect the garden hose and any attachments.
Then determine whether the outdoor faucet has a dedicated interior shutoff valve.
If it does, follow the appropriate procedure to shut off the supply and drain the exterior section of the plumbing.
If you aren’t sure how your plumbing is configured, don’t start disassembling the faucet or cutting into pipes because a freeze is approaching.
If temperatures are expected to fall well below freezing and you’re concerned about vulnerable plumbing, contact a plumber for advice.
Common Outdoor Faucet Winterization Mistakes
Even homeowners who know they should winterize their outdoor faucets can make mistakes.
Here are some of the most common.
Leaving the Hose Connected
This is probably the easiest mistake to avoid.
Remove the hose and other attachments before freezing weather.
Assuming Every Faucet Works the Same Way
Standard hose bibs and frost-free faucets have different designs.
Know what you have before deciding what steps are necessary.
Forgetting the Garage Faucet
Walk around the entire property and identify every exterior water connection.
Ignoring a Small Leak
A dripping or damaged faucet should be repaired rather than ignored until spring.
Forgetting the Irrigation System
Underground irrigation plumbing requires its own winterization process.
Waiting Until After the First Freeze
It’s better to prepare while temperatures are still above freezing than to discover a problem after the plumbing has already frozen.
What About Frost-Free Faucets?
Frost-free faucets can provide additional protection against freezing because their valve mechanism is positioned farther inside the building than a traditional hose bib.
However, they aren’t completely maintenance-free.
Always disconnect hoses and other attachments before freezing weather.
Also make sure the faucet is installed correctly and that the exterior portion can drain as designed.
If a frost-free faucet continually freezes, leaks, or doesn’t drain properly, there may be an installation, maintenance, or plumbing problem.
Don’t assume the faucet is defective simply because it froze. Have the system evaluated.
What If an Outdoor Faucet Freezes?
If you turn on an outdoor faucet during cold weather and little or no water comes out, the supply line may be frozen.
Don’t use an open flame, torch, or other dangerous heat source to thaw it.
If you suspect a frozen pipe, locate the affected area if it can be done safely and use only safe, gradual warming methods appropriate for the situation. If you’re unsure where the frozen section is or suspect the pipe has cracked or burst, contact a plumber.
If a pipe has already burst, shut off the home’s main water supply as quickly as possible to limit water damage and call a licensed plumber.
HelpHouse also has a more detailed guide covering what to do when water pipes freeze and how to prevent frozen pipes.
How to Prevent Frozen Pipes Beyond the Outdoor Faucet
Winterizing outdoor faucets is one part of protecting your home’s plumbing.
Before freezing weather arrives, also consider vulnerable water lines in:
- Garages
- Crawl spaces
- Basements
- Attics
- Exterior walls
- Other unheated areas
Look for areas where cold air can reach plumbing.
If you’ve experienced frozen pipes before, don’t simply repeat the same winter routine. Try to determine why the pipe froze and address the underlying problem.
For more information, see our guide:
How to Thaw Frozen Water Pipes and Prevent Pipes From Freezing
When Should You Winterize Outdoor Faucets?
Don’t wait for the first hard freeze.
The best timing depends on your local climate and weather forecast, but late summer and fall are good times to inspect your outdoor plumbing and make sure you’re ready.
If freezing weather is still weeks away, you have time to identify problems and make repairs.
If a freeze is forecast within the next few days, make outdoor faucet winterization a priority.
And if your home has plumbing that you’re not sure how to winterize, getting professional advice before freezing weather arrives is far better than dealing with a burst pipe afterward.
Do You Need a Plumber?
Many homeowners can disconnect hoses, inspect faucets, and perform basic winterization themselves.
However, some situations are better left to a professional.
Consider calling a plumber if:
- You can’t locate the outdoor faucet’s shutoff valve.
- The faucet continues leaking after being turned off.
- The faucet is damaged or cracked.
- You aren’t sure how your plumbing is configured.
- Pipes run through an especially vulnerable location.
- An outdoor faucet has frozen repeatedly.
- You discover a burst or leaking pipe.
- You need help winterizing an unusual outdoor plumbing system.
- You have concerns about an irrigation system or other exterior water supply.
The goal isn’t to turn every seasonal maintenance task into a service call. It’s to recognize when a plumbing problem goes beyond a simple DIY job.
If freezing temperatures are possible in your area, protecting outdoor plumbing is a sensible precaution. The exact steps depend on the type of faucet and plumbing system.
Not necessarily. The correct procedure depends on the faucet and how the plumbing is configured. For systems with an interior shutoff and drain, the exterior line may be drained and the faucet then closed. Follow the manufacturer’s instructions or consult a plumber if you’re unsure.
Yes. Disconnect garden hoses and other attachments from outdoor faucets before freezing weather. This is particularly important for frost-free faucets because a connected hose can interfere with proper drainage.
Frost-free faucets are designed to reduce the risk of freezing, but they still require proper use and maintenance. Disconnect hoses and attachments and make sure the faucet can drain as designed.
Freezing water expands and can damage plumbing components. In some cases, the damage may not become obvious until the weather warms and the water supply is restored.
Don’t rely on improvised heating methods around exterior plumbing. If a pipe is vulnerable to freezing, proper insulation, system design, or professional evaluation is a safer long-term solution.
Don’t use an open flame to thaw it. If you suspect the pipe has frozen, use safe gradual warming methods when appropriate, and contact a plumber if you’re unsure of the location or condition of the frozen pipe.
Final Thoughts on Winterizing Outdoor Faucets
Winterizing your outdoor faucets is one of those small home-maintenance jobs that’s easy to forget when you’re enjoying the last weeks of summer.
But it doesn’t take much time to disconnect your hoses, inspect your faucets, identify the water shutoff, and prepare vulnerable exterior plumbing before freezing weather arrives.
The most important thing to remember is that not every outdoor faucet is the same. A standard hose bib may require a different winterization procedure than a frost-free faucet, and irrigation systems require their own preparation.
If you’re comfortable with basic home maintenance, you can often handle the simple steps yourself. If you aren’t sure how your plumbing is configured—or you discover a leak, damaged faucet, or vulnerable pipe—getting professional help before the freeze is a smart investment.
A few minutes of preparation in the fall could save you from dealing with a much bigger plumbing problem in the middle of winter.
Need Help With Your Outdoor Plumbing?
If you’re not sure how to winterize an outdoor faucet, need a damaged faucet repaired, or have concerns about exposed plumbing, a qualified plumber can inspect your system and recommend the appropriate winterization steps.
Find a local plumbing professional in the HelpHouse Contractor Directory.
More Fall and Winter Home Maintenance
Continue preparing your home for colder weather with:
Fall Home Maintenance Checklist: 25 Essential Tasks Every Homeowner Should Complete
Fall Roof Inspection Checklist: 10 Things Homeowners Should Check Before Winter
When Should You Clean Your Gutters? A Homeowner’s Fall Guide
How to Prepare Your Home for Colder Weather: 15 Things to Do Before Winter
How to Seal Drafty Windows and Doors Before Winter
How to Prepare Your Furnace Before Cold Weather
How to Prevent Frozen Pipes This Winter
How to Prepare Your Home for a Winter Power Outage
Are you a contractor?
Help homeowners find your business by listing your company in the HelpHouse Contractor Directory.