

When you’re ready to give the inside of your home a fresh new appearance, here’s a few helpful tips to keep in mind before painting the interior of your home.
1. Prep your work area

Photo by rawpixel.com
While most homeowners get excited about their new wall color and want to jump right in without prepping first, professional painters spend most of their time preparing for the project. So take a little extra time to prepare your work area, too.
Lightly sand or scrape and clean any peeled or flaking paint or the new coat will pull the old paint loose. Carefully apply painter’s tape on all borders and trim, and make sure any wall patching compound has thoroughly dried before you paint over it. Any other dirty or grimy spots on your walls will also need to be cleaned with with soap and rinsed. You should give all your walls a quick cleaning before painting with a damp cloth so the new paint has a clean and dust free surface to adhere to. If you’re painting over high-gloss paint, you can lightly sand it first so the new paint can adhere to it.
2. Use painters tape, not masking tape
Professional painting contractors spend a little extra money on high quality painters tape, so should you. After taping all borders around the ceiling, window and door trim and baseboards, use a putty knife or small scraper to remove air bubbles and seal the edges to prevent drips and bleeding. Make sure the painters tape you use is new, old tape can cause problems, and make sure you wait until the time specified by the manufacturer for proper dying before removeing.
3. Use a Primer
Using a primer is an essential step that gives you a more consistent finish, especially if a wall is new or has been repaired. You can use a paint/primer combo mixture if your old walls have a flat, non-glossy finish and are in generally good shape, but if you’re painting over more difficult surfaces like glossy paint, plaster, wood or concrete, it’s better to use a use a stand-alone primer or a premium mix that’s designed specifically for bonding new paint to the old surfaces.
4. Cover, cover, cover
Protect everything you don’t want painted! Spend the extra time to cover floors, furniture, and any hardware before you begin and you’ll thank yourself later. Use drop cloths for large areas and furniture, and tape small sandwich bags over doorknobs to protect them as well. Be sure to remove all your electrical outlet and light switch covers so you don’t have to waste time carefully painting around them all, it’s much easier to remove a small screw.
5. Know your sheen
The basic rule of thumb when choosing the right paint sheen is the higher the sheen, the higher the shine – the higher the shine, the more durable it will be. Flat paint has no shine, and high-gloss is all shine. In-between are eggshell, satin, and semi-gloss paints.

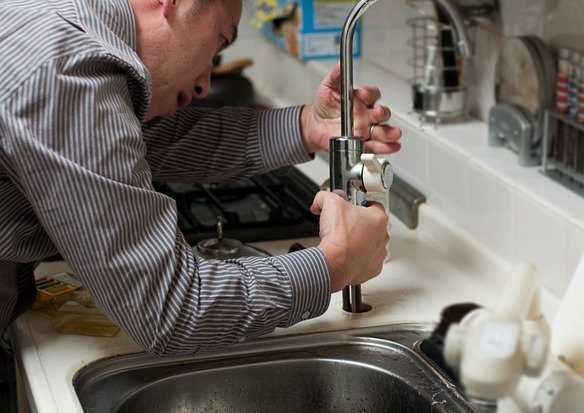
Image by Jarrett Tilford
It’s important to know what type of paint your are going to want to use on your walls. Gloss, semi-gloss, satin/egg shell finishes all have their pros and cons. For high traffic areas, semi-gloss or satin finishes are most commonly used because they’ll hold up better to touching (kids and pets!), and can be more easily cleaned, but they will also make imperfections in your walls more visible.
A flat, matte-like finish won’t endure dirty hands or clean up as well, but you won’t see those imperfections as much. Semi-gloss paint on mouldings and trim are usually preferred so those elements stand out, whereas sating or eggshell finish is more common for your walls, because eggshell has slightly more luster than a flat finish and your walls won’t be too shiny.

Photo: houselogic
6. Start at the top
After taping, always begin painting at the ceiling or top of the wall and work your way down, using your paint roller to catch any drips as you go. Don’t let drips dry, if you paint over a dry area later it could cause streaks in the new paint.
7. Combine gallons of paint
If you’re bought individual gallons of paint, the paint store mixes the paint by using a recipe of colors one gallon at a time, which can cause slight color variations in each gallon. For better color consistency, combine multiple gallons of paint into one large, sealable buckets and remember to stir the paint before each use. At the very least, when using more than one gallon of paint for your project, add paint from a new gallon to the one your painting from when it is half empty.
8. Don’t overdip
When painting with a brush, only dip your paint brush in about a third of the way in. You’ll still get enough paint on the brush to do the job, you won’t waste paint, and your paint brushes will be easier to clean.
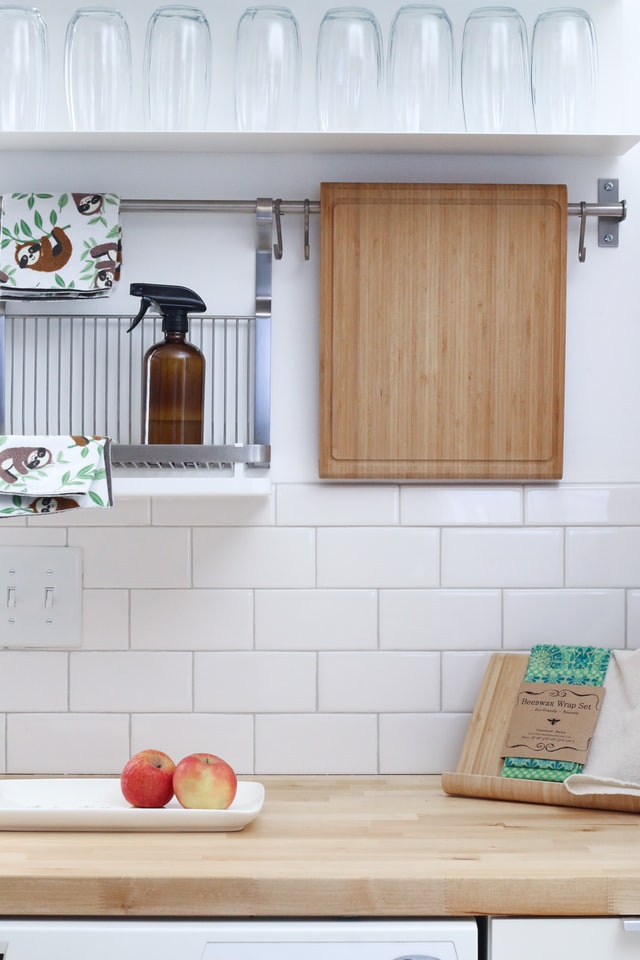
9. Clean your brushes
When the job’s done and you’re feeling a bit tired, don’t put your wet paint brushes away somewhere to clean them later, especially if you have high-end expensive paint brushes. Clean paint brushes with water and dish detergent, cover them in plastic wrap when dry and store them in the original covers so they’ll hold their shape for the next time.

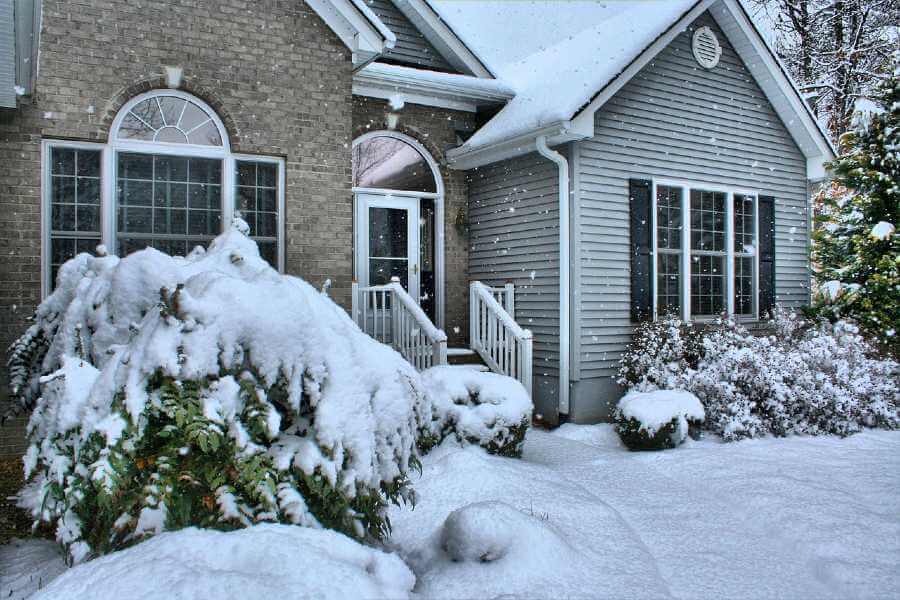
Image by Fernando FLeitas
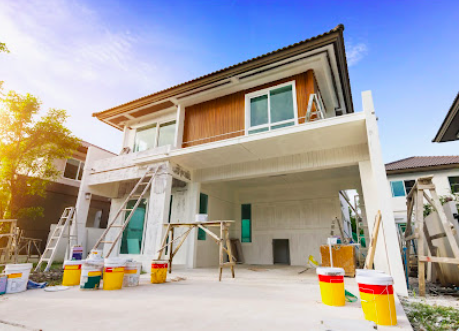
While some people think fall or winter is the best time to paint your home’s interior, depending on where you live, you’ll want to be able to open your windows and doors for ventilation. So anytime when the humidity level is between 40 and 70 percent is the ideal time to paint indoors. If it’s too humid, you’ll have to adjust the drying time needed between coats of paint.


